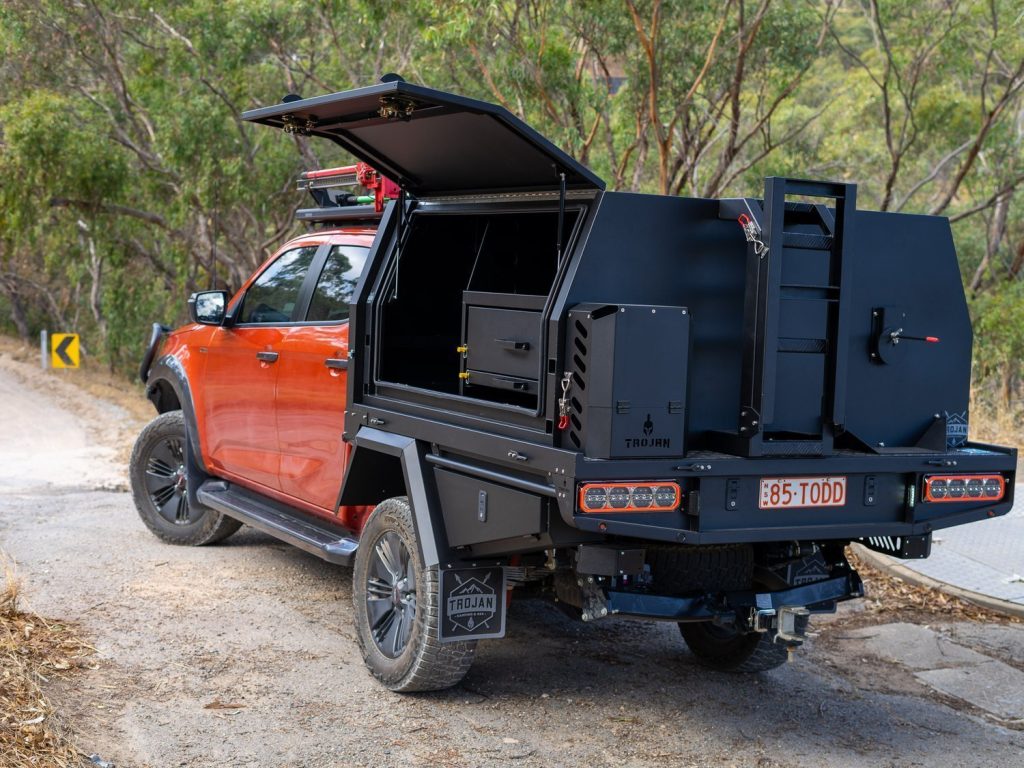
Installing a UTE canopy is an excellent way to enhance the functionality and versatility of your utility vehicle. Whether you need extra storage space, protection from the elements, or a secure place to store valuable equipment, a UTE canopy can meet all these needs. However, achieving a flawless installation requires attention to detail and adherence to best practices. In this comprehensive guide, we’ll walk you through the steps to ensure your UTE canopy is installed perfectly.
Preparing for Installation
The first step to a flawless UTE canopy installation is selecting the right canopy for your needs. Canopies come in various materials, including fiberglass, aluminum, and steel, each with its own advantages. Fiberglass canopies are lightweight and offer a sleek appearance, while aluminum canopies are durable and resistant to rust.
Steel canopies provide maximum security and strength but can be heavier. Consider your usage needs, budget, and the typical conditions your vehicle will face to choose the best option.
Gathering the Necessary Tools and Materials
Before beginning the installation process, ensure you have all the necessary tools and materials. Typically, you will need:
- Drill and drill bits
- Measuring tape
- Rubber seals and weatherstripping
- Screwdrivers and wrenches
- Clamps
- Silicone sealant
- Protective gloves and eyewear
Having everything prepared in advance will streamline the installation process and help prevent any interruptions.
Preparing the UTE Bed
A clean and prepared UTE bed is crucial for a successful canopy installation. Start by removing any existing accessories or debris from the bed. Clean the surface thoroughly to remove dirt, grease, and rust.
If necessary, use a rust remover and apply a coat of rust-preventive paint to ensure the longevity of your installation. A clean and rust-free surface ensures the canopy will fit properly and seals correctly, preventing leaks and other issues.
Installing the Canopy
Carefully position the canopy onto the UTE bed. It’s advisable to have an extra pair of hands for this step to ensure accurate placement. The canopy should be aligned with the edges of the UTE bed, and all corners should sit flush. Use clamps to hold the canopy in place temporarily while you make any necessary adjustments.
Drilling and Securing the Canopy
Once the canopy is correctly positioned, mark the locations for the mounting holes. Double-check these markings to ensure they are aligned and evenly spaced. Using a drill bit appropriate for your canopy material, drill the holes at the marked locations.
Attach the canopy using the bolts provided with your canopy kit. Tighten the bolts securely but avoid over-tightening, which could damage the canopy or the UTE bed. It’s essential to ensure that the canopy is firmly attached, as a loose canopy can be a safety hazard.
Sealing the Edges
To prevent water ingress and ensure a weather-tight installation, apply rubber seals and weatherstripping around the edges of the canopy. These seals will also help reduce noise and vibration while driving. Apply a bead of silicone sealant along the edges of the canopy and smooth it out with a gloved finger or a sealant tool. Allow the sealant to cure according to the manufacturer’s instructions.
Final Adjustments and Checks
With the canopy secured and sealed, it’s time to test the fit. Close all doors and windows of the canopy to ensure they align correctly and operate smoothly. Check for any gaps or misalignments that could lead to leaks or drafts. Make any necessary adjustments to the mounting bolts or seals to achieve a perfect fit.
Electrical Connections
If your UTE canopy includes lighting or other electrical components, the next step is to connect these to your vehicle’s electrical system. This process may require running wires from the canopy to the vehicle’s battery or fuse box. Ensure all connections are secure and insulated to prevent short circuits or other electrical issues. If you’re not comfortable with automotive electrical work, it’s advisable to seek assistance from a professional.
Load Testing
Before hitting the road, it’s wise to perform a load test. Load the canopy with your typical cargo to ensure it can handle the weight without any issues. Check for any signs of stress or flexing in the canopy structure. A successful load test confirms that your installation is robust and ready for use.
Conclusion
A flawless UTE canopy installation enhances the utility and functionality of your vehicle, providing secure storage and protection from the elements. By carefully selecting the right canopy, preparing your UTE bed, and following precise installation steps, you can achieve a robust and reliable installation.
Regular maintenance and prompt troubleshooting of any issues will ensure your canopy remains in top condition for years to come. Whether you use your UTE for work or recreation, a well-installed canopy will serve as a valuable asset. Follow the tips and install a fantastic toolbox canopy.


